Crafting Your Green Tea
This is how you create your own green tea in your own kitchen. It’s a simple 4 step process. In fact nearly all tea uses a 4 step process, but you can read more about that in our Basic Tea Craft page.
Below we give you the basic rules for crafting your green tea. The art comes with your own practice and exploration.
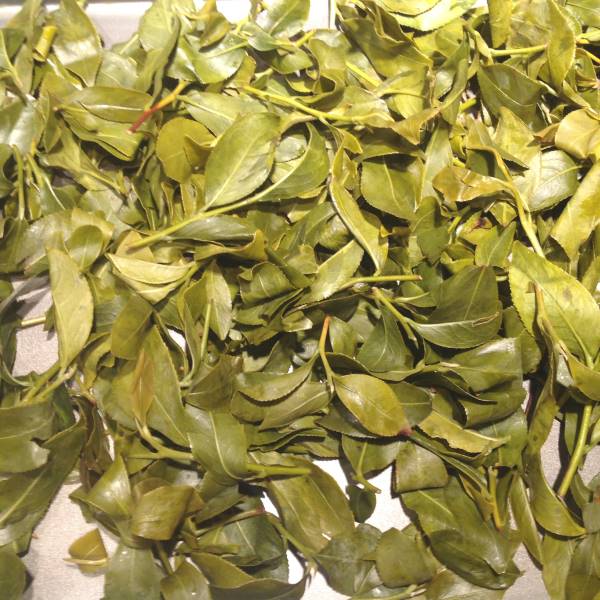
Make sure you have some raw tea leaves for your green tea.
What You’ll Need
- 1 pouch of raw tea leaves (give them a rinse and either dry with paper towels or salad spinner)
- 1 vegetable steamer
- 1 cookie sheet
- 1 cooling rack
Step 1. Temper by Steaming

You temper green tea by steaming, or roasting. Steaming is a popular method in Japan. Roasting is popular in China.
Green tea tempering is called “Kill Green”. By heating the leaves, you prevent them from oxidizing any further. You’ve “killed” the green processes of the leaf.
Remember, your pouch of fresh leaves will have a small amount of “pre-wilt”. This contributes to a vegetal aroma.
Method
Before opening your pouch of raw leaves, have a vegetable steamer ready and steaming. If you don’t have a steamer, use a metal colander in a deep pot. The pot should have boiling water just below your strainer. Steam the leaves. Don’t steep them.
While steaming your leaves, keep them covered.
Length
Steam your leaves for about 3 minutes. Stir them once or twice during the steaming. Chopsticks are helpful with this.
What To Look For
Your leaves will become softer and a bit flaccid. They may even develop a deeper green color.
Step 2. Roll
The fun part! If you’ve made cocktails before, this is basically muddling your leaves.
Method
Heap leaves on your work surface (a cookie sheet or a bowl work well). You will knead your leaves in handfuls. Twist them. Bruise them. Curl them. Tea leaves are surprisingly resilient, so really work them.
A couple methods you can use. (1) Holding a clump between your hands, twist your hands in opposite directions. (2) Ball a clump with your hands, squeezing tight. (3) Roll a clump across the back of your hand. (4) Knead a large clump across your work surface, like working dough.
Be sure to break up the leaf clumps between kneading. Pick out stems as they fall off your leaves.
Length
15 minutes or until satisfied.
What To Look For
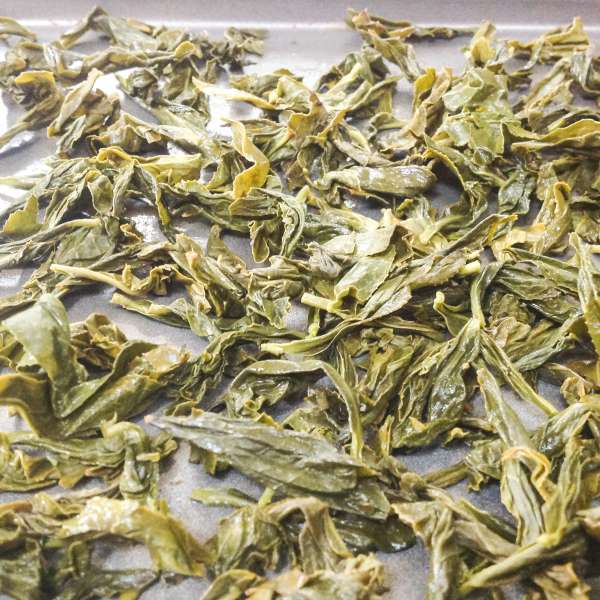
You want to make a tight curl with your leaves. The leaf sap should extrude from your leaves. Some foaming of the leaves is common. You will feel the stickiness from the leaf sugars releasing. You should even smell a faint sweetness.
If your leaves feel too dry after rolling a bit, spritz a little water on them, or steam them some more.

Step 3. Oxidize
Preparation
You can skip this step since you only oxidize black and oolong tea.
Step 4. Dry
The drying process will “fix” the leaf and give it a shelf stability. This last step gives us the tea we all know and love. I use an oven, but if you have a food dehydrator, even better!
Method
Preheat your oven to 225F
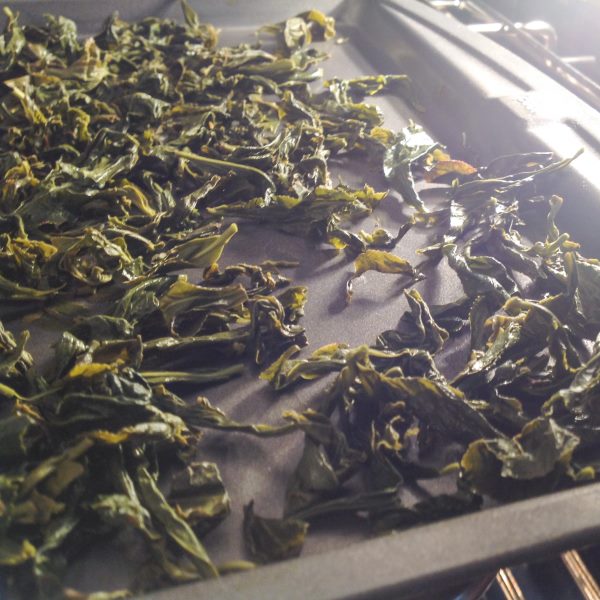
Break apart any leaf clumps and spread them out evenly in your cookie sheet. You’ll heat the leaves for 5-10 minutes. Then remove them from the oven.
Lower temperature to 195F or as close as you can. You’re dehydrating them now.
Length
Dehydrate your leaves at this lower temperature for at least 40 minutes. Depending on how wet they are at the beginning, it can take an hour or more.
Turn the leaves every 20 minutes. Your leaves are ready when they reach the consistency we’re all familiar with

Final Notes
Flavoring
Green tea is a wonderful base for flavored teas like Moroccan Mint. Here are some important tips for adding flavors to your green tea.
First, only add fully dry ingredients otherwise your tea can go moldy in storage. So use oil-based essences, or dry out your add-ins.
The best time to add flavors is right after you dried your tea. While it’s still warm, mix the tea and flavoring in an airtight container. Let them sit together as the leaves cool. They will absorb the aroma of your flavoring. If you’re using a tea tin, it can help to warm up the tin before adding everything.
A good ratio of flavoring to tea is 1:4 or 1:5. That means 1 part flavoring (dried flowers for example) to 4 parts of tea. Explore different ratios, since some flavorings are more powerful than others. Try this with a single cup of tea, instead of experimenting with your entire batch.
Serving
Remember this: you can steep loose-leaf tea several times. Experiment and explore how many steepings your tea is capable of.
For the first steeping of your green tea, we recommend a temperature of 175°F (80°C). Steep your leaves for 3 minutes. For later steepings, you have two options. You can increase the temperature a bit, or add 30 seconds to the steeping time.
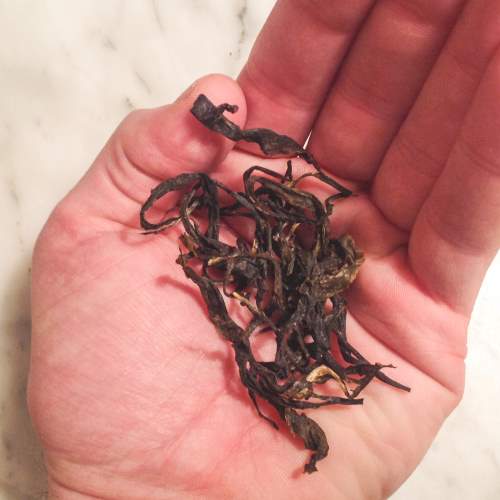
You will use 1.5-2 grams of leaf for each cup of tea. Below is a picture of what 2 grams looks like. Enjoy!

Storing
First, it’s important that your final tea is fully dry. This includes any flavor additions you might add. Berries, flowers, herbs, all must dry fully.
Store your final tea in a dry, air-tight container. A traditional tea tin is good. Your tea will last longest if you keep it away from humidity. It also helps to keep it away from heat, and sunlight.
Inspire Yourself
Boston Teawrights is about experiencing the craft of tea. Inspire yourself and explore what it means to create. All it takes is one pouch of raw leaves and a little spirit of discovery.
